Most “strategy” content online is useless: entry rules so vague you can’t trade them, backtests done with hindsight bias, or systems that require $50k in equipment to execute.
These five strategies have specific entry rules, defined stop placement, and targets you can calculate before you enter. They work on forex pairs and crypto with a standard retail account. We’ve used all of them in our own trading account.
What makes a strategy actually work
Before the list: the best system in the world, traded inconsistently, will underperform a mediocre system run with discipline. Execution is the variable most people ignore.
Each strategy below has:
- Entry trigger: the exact condition that tells you to enter
- Stop placement: where the setup is proven wrong
- Target: where you exit (1.5:1 minimum, 2:1 preferred)
- Filter: when NOT to use it
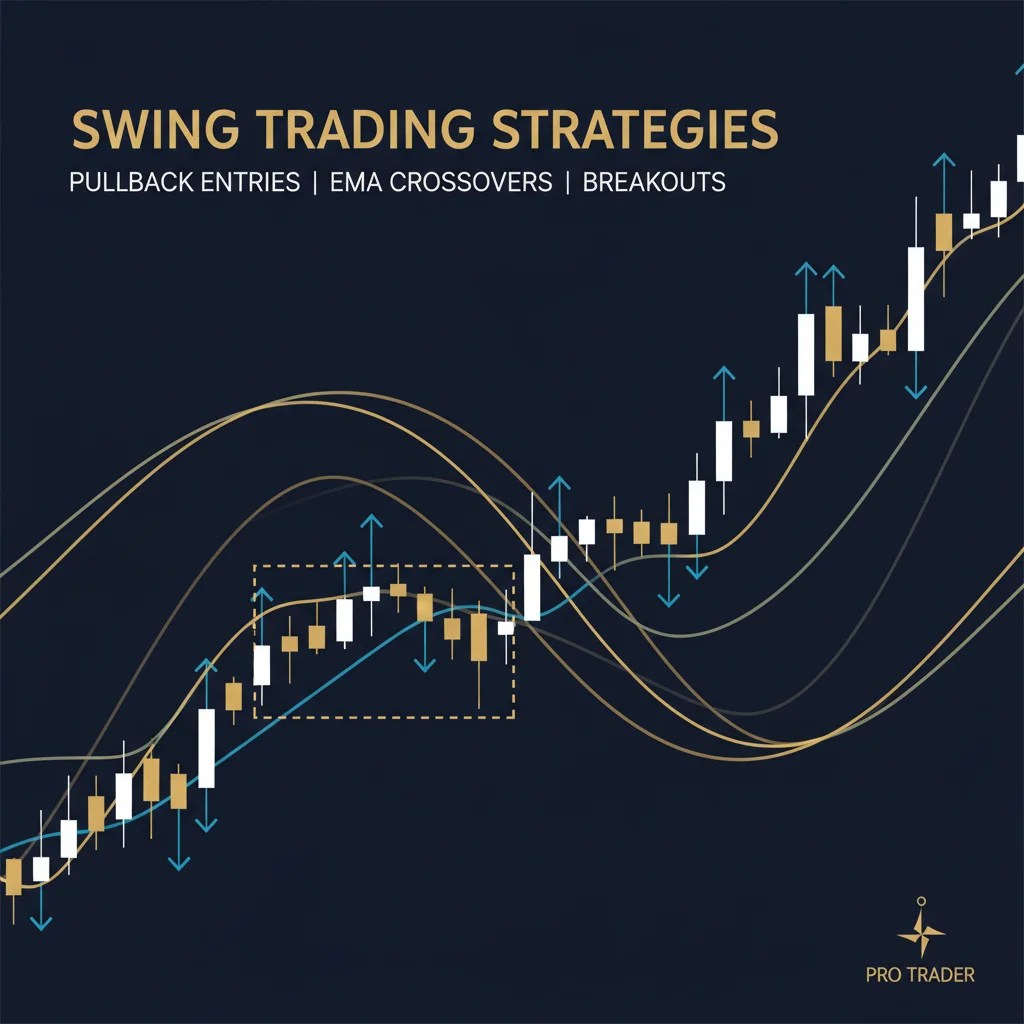
Strategy 1: Pullback to EMA in a trend
The simplest strategy with the highest reliability in a trending market.
Setup:
- Price is above the 50 EMA on the 4H chart (uptrend) or below it (downtrend)
- Price pulls back to the 20 EMA
- A bullish reversal candle forms at or near the 20 EMA (for longs)
Entry: Buy the close of the reversal candle, or the open of the next candle.
Stop: Below the low of the reversal candle, or below the nearest swing low.
Target: Previous swing high, or 2× the stop distance, whichever comes first.
Filter: Skip if ADX < 22 (no trend, range conditions will produce false signals).
This is what we used on EUR/USD in our swing trading results, with 14 trades in February, 57% win rate. The ADX filter, added after a bad March, reduced false signals significantly.
Example: EUR/USD 4H uptrend, price pulls from 1.0920 to 1.0850 (20 EMA). Bullish engulfing forms. Entry 1.0860, stop 1.0830, target 1.0920. 60-pip risk, 60-pip target = 1:1. Skip this trade. Wait for a setup where target reaches 1.0950+ (90-pip target = 1.5:1 minimum).
Strategy 2: Range breakout with volume confirmation
Works in all markets but especially in crypto where consolidation periods are sharp and breakouts are volatile.
Setup:
- Price has traded in a range for at least 5 candles on the 4H chart
- Range high and low are clearly defined
- Price breaks above the range high (long setup) or below range low (short setup)
- Volume on the breakout candle is above the 20-period average
Entry: Buy the close of the breakout candle. Don’t chase: if you miss the close, wait for a retest of the range top (now support).
Stop: Below the range high (for longs); if price falls back into the range, the breakout failed.
Target: Range height projected from the breakout level. If range was 200 pips wide, target is 200 pips above the breakout.
Filter: Skip if the breakout candle has an exceptionally long upper wick (> 40% of candle body), indicating rejection rather than a genuine breakout.
BTC/USDT is particularly good for this. The $62,400 → $67,200 trade from our April results was a breakout from a 6-day consolidation. Entry after the 4H close above the range high, confirmed by volume spike. 4-day hold, +7.7%.
Strategy 3: RSI divergence at support/resistance
Requires more reading skill than the first two, but produces some of the best R:R setups.
Bullish divergence (long setup):
- Price makes a new low
- RSI(14) makes a higher low
- Price is at or near a significant support level
Entry: Buy when the next candle opens after the divergence is confirmed (the second RSI low must be complete, not forming).
Stop: Below the recent price low where divergence formed.
Target: Previous swing high, or the nearest significant resistance level.
Bearish divergence (short setup):
- Price makes a new high
- RSI makes a lower high
- Price is at or near a significant resistance level
Filter: Divergence at a major S/R level is far more reliable than divergence in the middle of a range. Only trade divergence when it lines up with a key price level.
RSI divergence without a price level is guesswork. With a level, it’s evidence of exhaustion and potential reversal. That’s the combination worth trading. You can track live RSI readings and divergence signals on FXStreet’s technical analysis page.
RSI settings and full indicator setup are in our technical analysis guide for swing traders.
Strategy 4: Flag continuation
Works in trending markets when you want to enter a move that’s already proven itself. Lower risk than catching the initial breakout, because the trend has already started.
Bullish flag setup:
- Strong impulsive move up (the flagpole)
- Price consolidates for 5-15 candles in a tight, slightly downward channel (the flag)
- Price breaks above the top of the channel
Entry: Buy the breakout above the flag channel top. Can also enter at the bottom of the flag channel if price has returned there (aggressive entry, requires more skill).
Stop: Below the bottom of the flag channel.
Target: Flagpole height added to the flag breakout level.
Filter: Flags work best when the flagpole was accompanied by above-average volume. If the initial move was weak, the continuation may also be weak.
Gold (XAU/USD) produces textbook flag patterns during macro events. FOMC, CPI releases create the flagpole, then price consolidates for 3-5 days before resuming. Watch for this pattern during high-impact news weeks. Live XAU/USD technicals are available on Investing.com Gold.
Strategy 5: Morning star / evening star reversal
A three-candle pattern that marks high-probability reversals at key levels on the daily chart.
Morning star (long):
- Large bearish candle (confirms downtrend continuation)
- Small-bodied candle (indecision: the market isn’t sure)
- Large bullish candle closing at least 50% into the first candle’s body
Evening star (short):
- Large bullish candle (confirms uptrend continuation)
- Small-bodied candle (indecision)
- Large bearish candle closing at least 50% into the first candle’s body
Entry: Open of the candle after pattern completes (4th candle).
Stop: Beyond the high/low of the pattern (for morning star: below the low of candle 2).
Target: Next significant support or resistance level.
Filter: This pattern has much lower reliability without a significant price level underneath it. On its own, it’s noise. At a level that has held multiple times, it’s a high-probability setup.
Three-candle and multi-candle reversal patterns are covered in depth in our candlestick patterns guide.
Combining strategies: the stacked setup
The best trades come when multiple strategies align at the same level.
Example of a stacked long setup on EUR/USD:
- Price at 20 EMA support (strategy 1)
- RSI divergence forming at that level (strategy 3)
- Volume spike on the reversal candle (confirmation)
Two signals at a known price level beat any single signal. We size slightly larger on these: 1.5% risk instead of 1%.
What to track
After every trade, record:
- Which strategy you used
- Whether the filter was met
- Result in R (e.g., +2.1R or -1R)
- Any deviation from the plan
After 20+ trades per strategy, you’ll know what works for you and what doesn’t. That data beats any strategy list on the internet.
FAQ
What's the most profitable swing trading strategy?
How many strategies should I trade at once?
Do swing trading strategies work in crypto?
How do I backtest a swing trading strategy?
What happens when a strategy stops working?
🌍 Our recommended brokers
Reader Reviews
The EMA pullback strategy is the one I've implemented directly. The rule about waiting for price to close back above EMA(20) before entering, rather than entering at the touch, cut my false entry rate significantly. I ran it on 40 paper trades before going live and got a 62% win rate. Now on live Exness account and holding around 58%. Solid.
The RSI divergence section is particularly good. Most guides describe what divergence looks like but don't explain when it's actually reliable versus when it's noise. The confluence with a key S/R level filter described here reduced my divergence trade failures from roughly 50% to around 30%. That's a big difference in expectancy.
I appreciate that each strategy has explicit entry conditions, stop placement rules, and target logic, not just a description of what the setup looks like. Too many strategy articles are 80% setup recognition and 20% actual execution. This one is the other way around, which is where most retail traders actually struggle.
Five distinct strategies with clear rules, good depth for a single article. I've been using the breakout retest method for a month on GBP/USD and getting decent results. The note about not chasing breakouts and waiting for the retest is advice I wish I'd read earlier. Minus one star only because I'd love win rate data for each strategy.
Well-written and clearly structured. The range breakout strategy section was new to me, specifically the ADX threshold for confirming a breakout has momentum behind it. Added it to my checklist and it immediately filtered out two setups that would have been losing trades last week.
The inside bar strategy explanation is the clearest I've read. The key insight, that the inside bar represents a pause in momentum rather than a reversal, and that the bias should match the higher timeframe direction, resolved a lot of confusion I had about when to actually trade them.
I tested the support and resistance bounce strategy for two months on EUR/USD before committing to it. The multi-touch confirmation rule, at least three previous touches before a level is tradeable, filtered out probably 40% of the bad setups I would have otherwise taken. My monthly drawdown dropped noticeably from month one to month two.
The strategy comparison table at the end is worth the read alone. Being able to see each strategy side by side with its typical hold time, required market condition, and risk profile makes it easy to match the right approach to the current environment. I now rotate between two of the five strategies depending on whether EUR/USD is trending or ranging.
Leave a Review

Forex Analyst & Senior Trader
Former FX desk trader with 8 years in institutional forex. Works in multi-timeframe analysis and order flow, turning desk experience into systematic, testable rules across forex and metals.